A square product photo is easy to ask for and harder to make than it sounds. Every photo that isn't square already has to gain something or lose something: background added on two sides, or part of the photo cut off. Which is right depends on the photo, and a catalogue has every kind.
This guide goes through choosing the shape, the three ways a photo can be reshaped, and what happens to the awkward ones: small photos, lifestyle shots, and products cut off at the edge. The steps use FrameNest, which reshapes product photos in place and keeps every original so you can put it back.
Pick the shape first
In FrameNest, open Frame and pick the Shape:
- Square (1:1)
- Portrait (4:5, 3:4 or 2:3)
- Landscape (16:9)
- Custom: any whole numbers from 1 to 100 on each side, like 5 by 6, as long as the frame is no more than four times longer than it is wide.
Square is the common choice, but it isn't the only right one. What matters is that the shape matches the shape your site's design shows product photos at, and that every photo has it. A grid of 4:5 photos lines up just as well as a grid of squares.
Three ways to get a photo to square
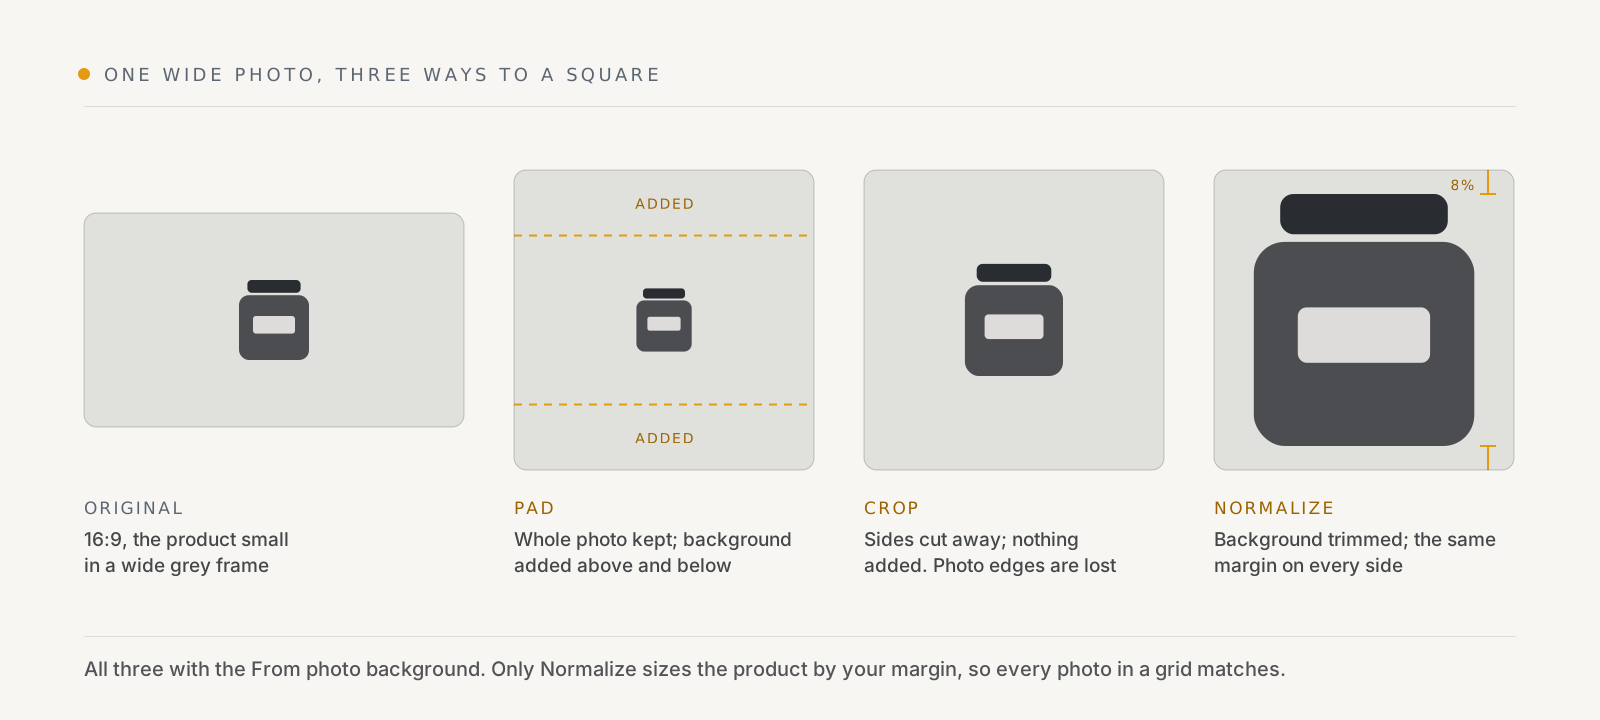
The Fit setting decides how each photo reaches the shape:
- Pad keeps the whole photo and adds background around it. Nothing is lost, and the product stays the size it was, so a wide photo becomes a square with bands above and below.
- Crop cuts to the frame around the subject. Nothing is added, and whatever falls outside the frame is gone. Check the preview: on a photo where the product is wide, or near the side, the crop can cut into it.
- Normalize trims the old background, then adds the same margin to every photo. The product is centred and comes out the same size in every photo, which is what makes a grid of mixed photos look like one set.
Normalize is the safe default for packshots, products on a plain background. Pad suits photos where the whole scene matters. Crop suits photos with plenty of room around the product.
The background that fills added space is yours to choose: From photo (each photo's own edge colour, the default), white, grey, black, transparent or any colour. There's more on why From photo is the default in how to make Wix product images the same size.
Size: the longest side
Longest side sets how big the framed image is, from 256 to 4472 pixels; the default is 2048. For a square, that's both sides.
Photos smaller than that aren't blown up by default:
- A photo between half the longest side and the full size is framed at its own size, so no pixel is enlarged.
- A photo under half the longest side is left as it is and reported, rather than framed into something visibly softer than its neighbors. It isn't charged.
- Turn on Enlarge small photos and both are enlarged to the size you set. Do that knowing an enlarged photo can look blurry.
With Normalize and enlarging off, a small product in a big empty photo can be made larger inside its frame, but at most twice its size in the original. It gets bigger, not blurry.
The photos that need care
Photos that are already square are left alone and not charged, because shrinking a photo of the right shape would cost detail and gain the grid nothing. (With Enlarge small photos on, a square photo smaller than the longest side is enlarged.) With Normalize they're checked a step further: if the product is already centred with your margin, the photo is left; if not, it's reframed so it matches the rest.
Lifestyle photos with no plain background around the product, a model in a room or a sofa in a styled scene, have nothing to trim. FrameNest pads them to the shape as they are.
A product cut off at the edge, like a shirt cropped at the shoulders, is the tricky one. Adding background on the cut side would show the cut as a hard line across the frame, so Normalize doesn't. It cuts the other way around the product instead. If the product doesn't fit that cut, the photo is left as it is with "The product runs off the edge of this photo", and not charged. A photo with more space around the product, or a different fit, usually solves it; check the preview.
File types. FrameNest frames JPEG, PNG and WebP, and keeps each photo in its own format. Other files are left exactly as they were. With a Transparent background, PNG and WebP photos stay see-through; JPEG has no transparency, so JPEG photos get white. A framed file that would be over the 10 MB upload limit is left as it is.
Run it, and keep new products square
The preview on the Frame page shows your own product photos, before and after, framed exactly as Apply will frame them. Look at the awkward ones there first, then click Save. Nothing in your store changes until you apply.
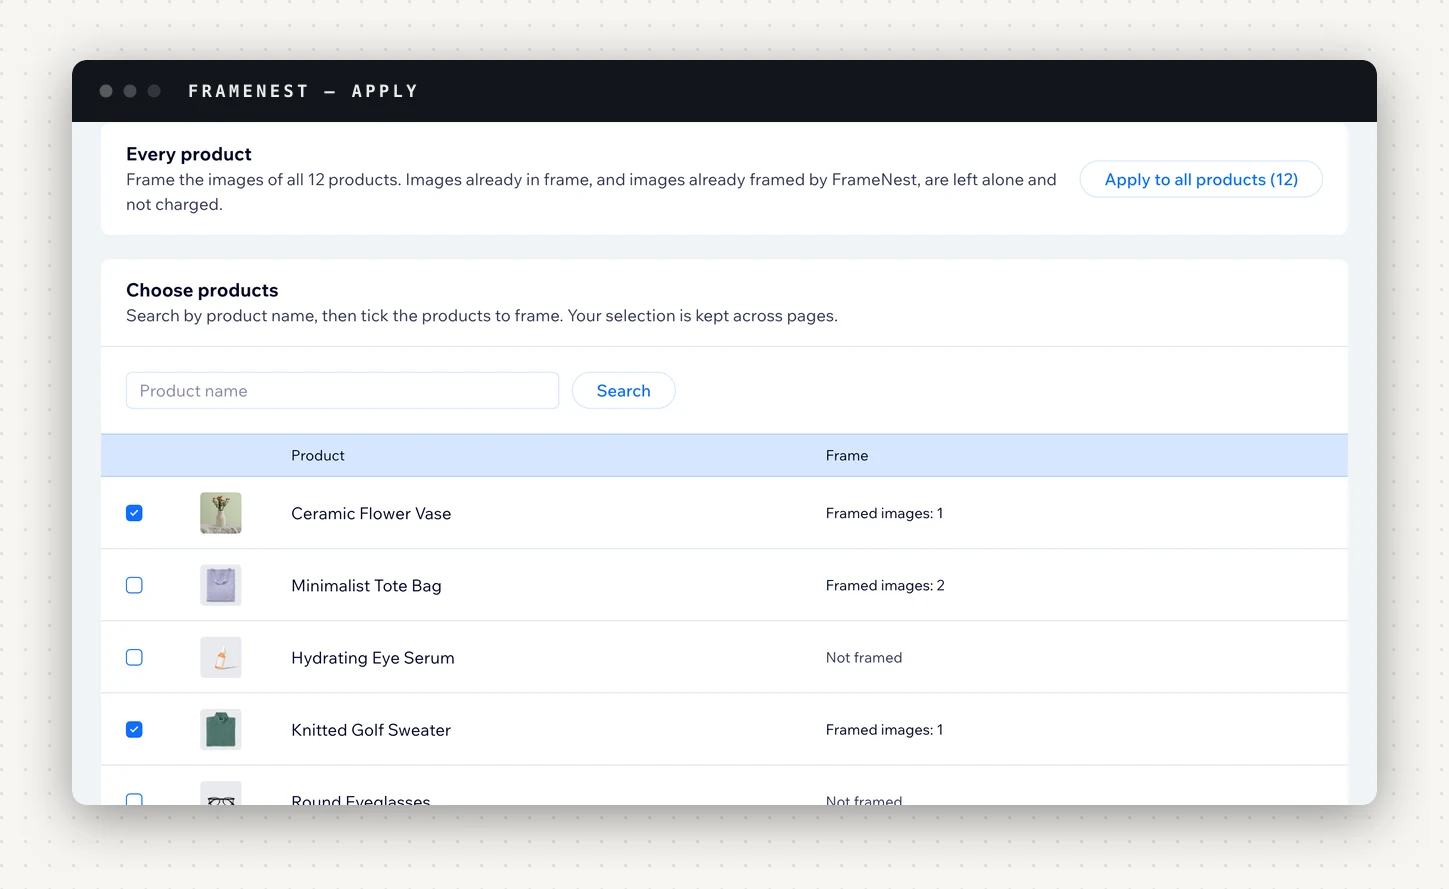
On Apply, tick products and click Apply to selected (up to 500 at a time), or use Apply to all products. You can leave the page; the run keeps going, and Home shows what was framed, skipped and failed.
Turn on Main image only if you want only each product's main (thumbnail) image reshaped and the rest of the gallery left as it is. That squares up the grid while leaving detail shots in their original shape on the product page.
On paid plans, Auto-apply frames new products within minutes, and images added to existing products within the hour, so the grid stays square as the catalogue grows.
Getting the originals back
Before changing an image, FrameNest keeps an untouched copy. Restore puts the original back in the same gallery position, for one image, a selection or all of them, and doesn't count against your allowance. Your original files are never deleted from your Media Manager. If you remove the app, restore first: framed images stay on your products, and FrameNest's copies of the originals are deleted 7 days after removal.
Every plan has every shape, fit and background. Plans differ in images framed a month: 50 on Free, 500 on Starter ($3.99/mo), 5,000 on Growth ($7.99/mo) and unlimited on Enterprise ($14.99/mo), with auto-apply on the paid plans.
FrameNest is on the Wix App Market. Try a square on the Free plan's 50 images a month and look at the result in your grid before you frame the rest.